


What would the flat pattern for the dress look like?
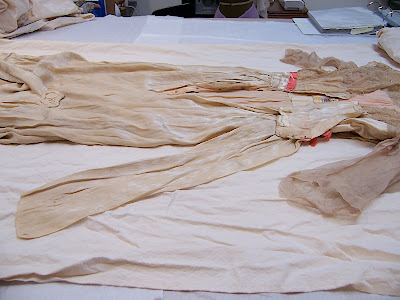
To end my session today, I wanted to capture at least one pattern piece. I decided to start with something really simple (or so I thought): the hem facing at the center front hem of the skirt, which creates a curved slit in the front. I thought this piece was a good candidate to be copied with the rub-off technique, as it was fairly small and flat, but with pronounced edges.
-I started by laying the dress front down,
 |
| From Research Process Part 1 - 1910's Franklin Simon gown |
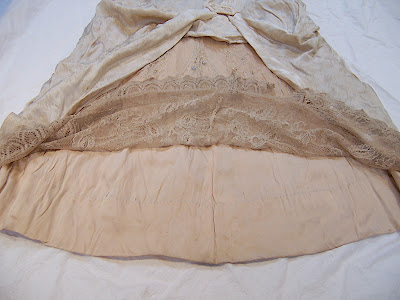
carefully turning back the lace skirt layer,
 |
| From Research Process Part 1 - 1910's Franklin Simon gown |
and then turning back the back skirt lining to reveal the inside of the front skirt lining.
 |
| From Research Process Part 1 - 1910's Franklin Simon gown |
-Then I began to stitch a basting line to follow the grain of the fabric. Many of the fabrics of this dress have become stretched and misshapen over the years, making it necessary to mark not only the lengthwise grain, but instead an axis that includes the crosswise grain as well. When doing this, they don't form the proper right angle they should, and need to be gently manipulated back into that right angle if the original pattern shape is to be found. I got out my magnifying lamp and settled in to find that grain.
 |
| From Research Process Part 1 - 1910's Franklin Simon gown |
-It wasn't until I started to place these basting lines that I became aware of just how brittle the skirt lining is. Usually the basting does not present a danger to the garment if done delicately with a very fine needle. In this case, however, I found that the insertion of the needle was enough to make the silk shatter, resulting in a small vertical tear. I continued, but very carefully.
-Then I measured the overall size of the pattern piece and cut a piece of washed muslin several inches larger in both directions.
-I measured the placement of my thread basted axis, and marked lines in pencil on the muslin to indicate it.
-I gently placed my muslin over my hem facing, and pinned the pencil lines to the thread basting lines with a few very fine silk pins.
-Next I smoothed the muslin out to the edges of the hem facing piece, pinning them flat around the edges
-With chalk, I was able to rub over the seams and edges of the facing.
-With everything marked, I unpinned the muslin.
-Finally I trued up the lines on the muslin with a pencil, ruler, and French curve.
1 pattern piece completed! (out of 25)
No comments:
Post a Comment